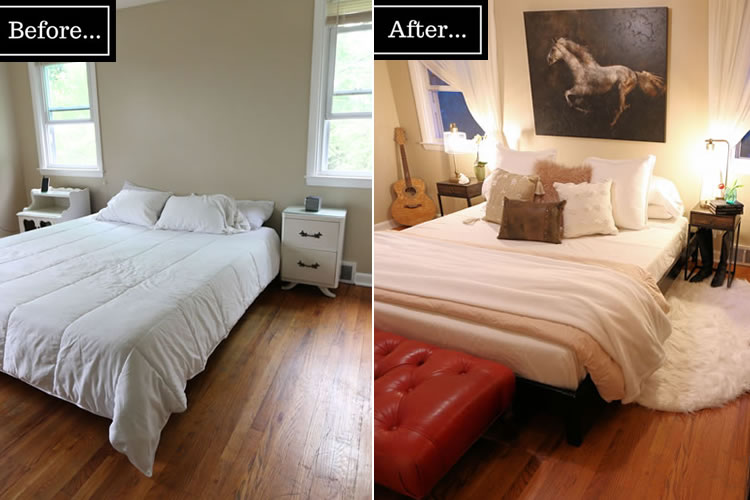
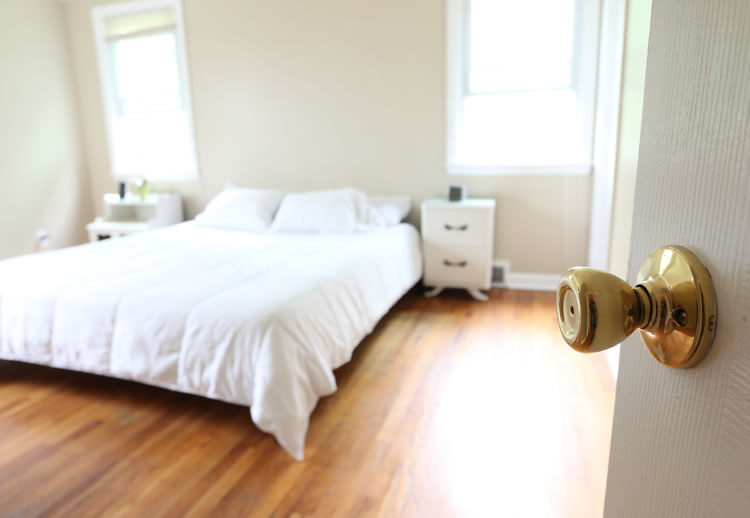
Time for another room refresh! We had such a great time doing the guest room refresh with Schlage, we thought it was time to do it all over again with our master bedroom. It could definitely use some TLC! Here’s the before:
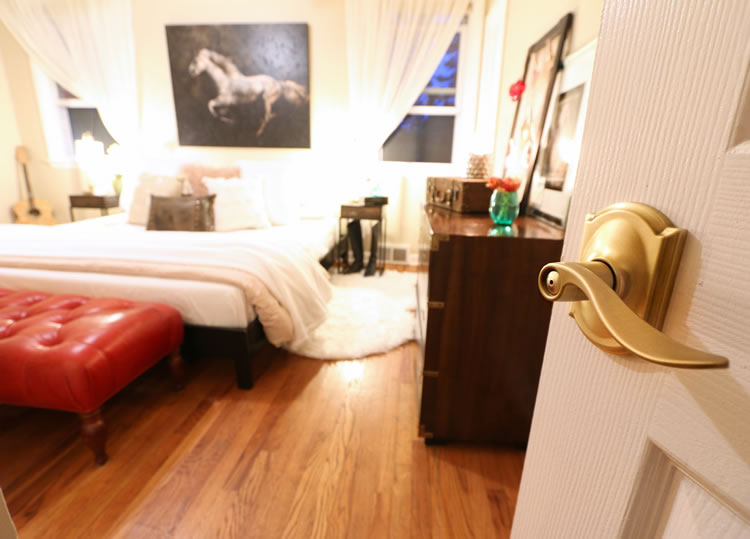
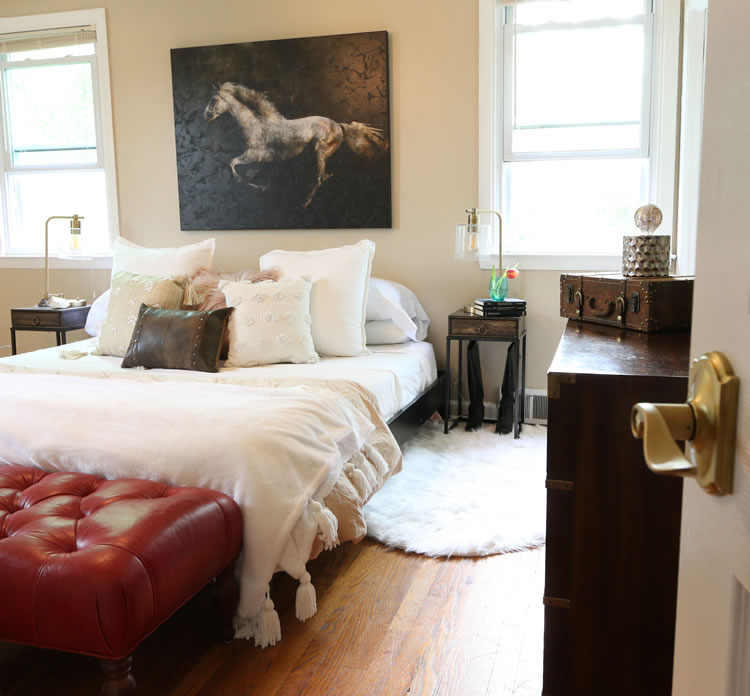
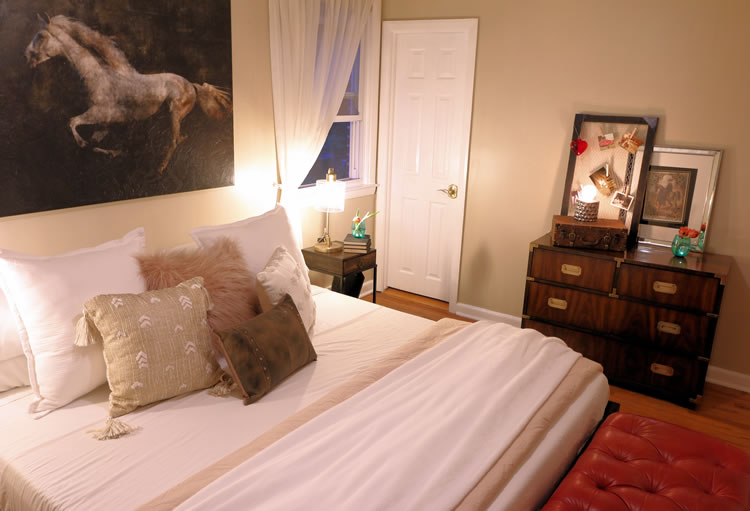
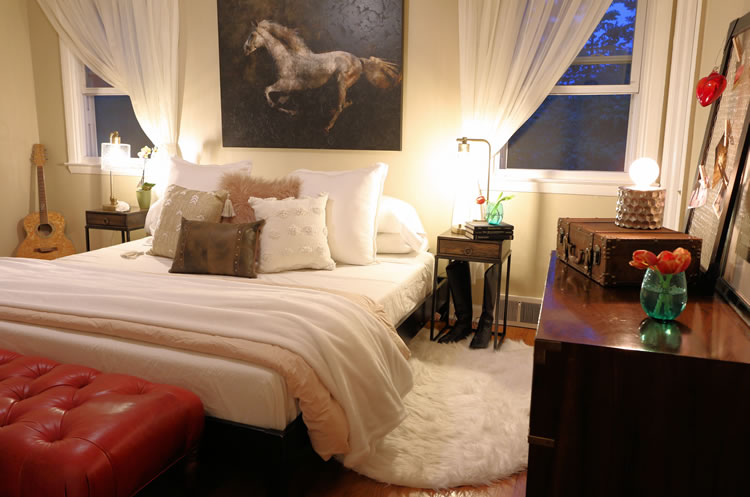
And here’s the bedroom makeover after:
For the master bedroom, we wanted to stick with a budget of around $450. I went with a more neutral color palette. Calm and relaxing, but with a little drama. I stumbled upon this gorgeous running horse canvas at a HomeGoods and fell in love. I also found this adorable vintage style mini faux leather suitcase and studded leather pillow.
The white texture dotted pillow was a Nate Berkus For Target find. Love, love, love. The lamps were also from Target. Sort of a contemporary industrial take on an old world lantern. I love how the brass coordinates and plays off the door hardware.
Our vintage campaign dresser was an unbelievable Craigslist find. Not only was it only $45, but the couple selling it lived less than a mile away. After bringing it home I immediately removed and cleaned up the brass campaign hardware with vinegar and Barkeeper’s Friend. They were completely brought back to life. You can get a better glimpse of it here.
I stuck with soft and neutral colored bedding, most of which I pulled out of storage. For a pop of color, I brought in my 10-year-old red leather ottoman that I had hanging out in the living room. Still one of my favorite furniture purchases of all time.
You can see how pretty the new bedroom door levers look. As with any makeover, it’s the little details that count. We began by changing out our old dingy door hardware and figured we would also change out the old hinges as well.
The old hinges are pictured here. Eww…
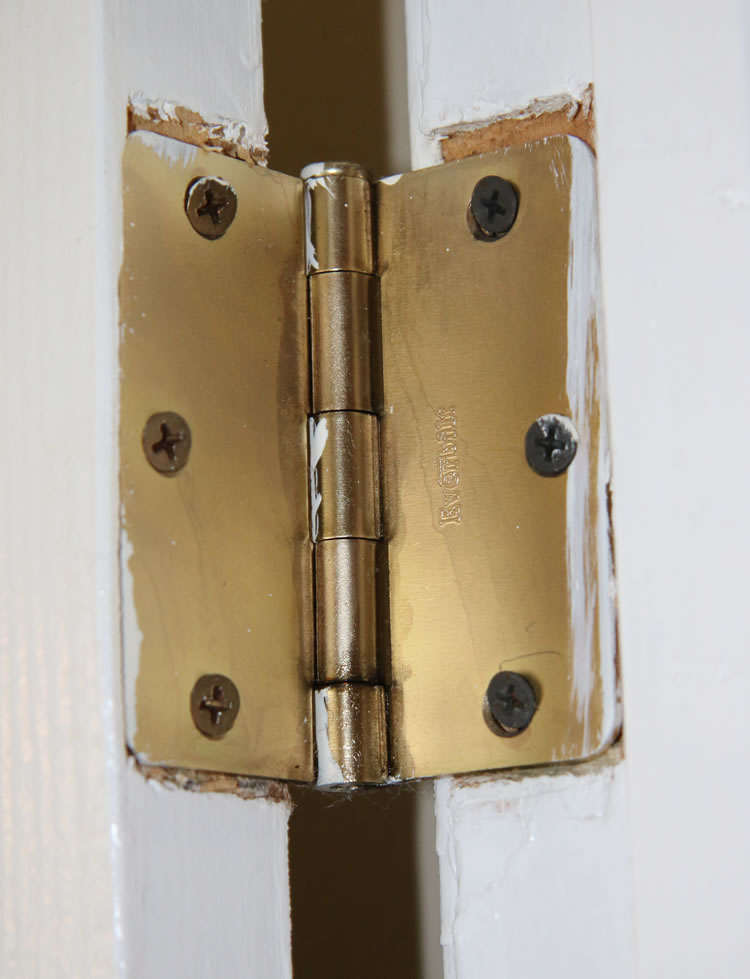
The old door hinges just looked awful from years of wear and tear were the victims of sloppy old paint jobs. 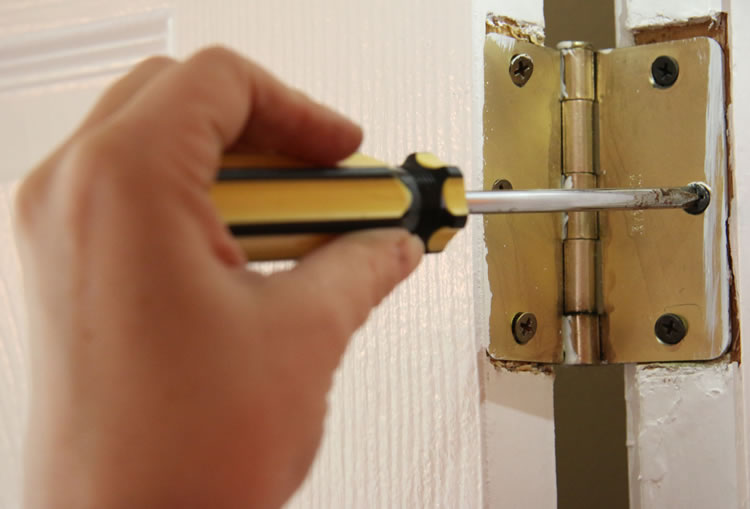
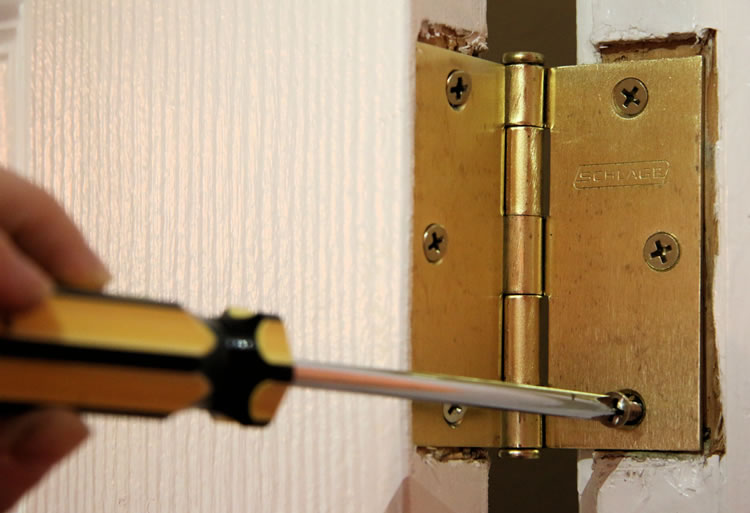
Replacing door hinges is very easy whether you’re doing external or internal doors. And you don’t have to take the whole door down. Just replace one hinge at a time with a new one, then move onto the next one. This allows the door to be held up by the old hinges as your replacing them with the new.
You’ll just need:
- A screwdriver (Phillips Head, most likely)
- A ladder
- Wood shim (or something to wedge under the door to raise it while installing the new hinges)
- Replacement hinges (Same size and screw pattern as the old set. They should match the color of the door handle.)
Begin by wedging a shim under the bottom of the door so it feels fully supported. This allows the hinges to remain properly aligned. Starting with the top hinge, remove the screws and hinge plate and replace with the new hinge installing the top and bottom screws. Do not fully tighten. Move onto the bottom hinge and repeat. When both hinges are installed, go back install the third screw and give them all a good twist to tighten. Test our your newly hinged door. If the hinges make any noise you may need to make some adjustments.
Here are the shiny and new Schlage hinges to match our fabulous new door levers. We chose the bright brass gold color Leverset for Bed & Bath with the Decorative Camelot trim to match the same ones we chose for our guest room.
We then installed the new hinges on the door of the master bathroom. See how ugly the old hinges were? Kind of noisy and full of rust. All the rust was most likely due to long-term exposure to steam from the shower. Not pretty!
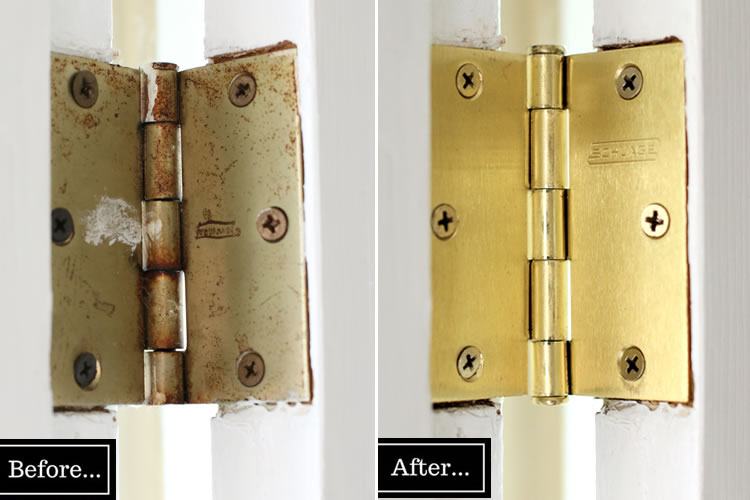
The new Schlage hinges are absolutely gorgeous. This simple change made all the difference! We then replaced the old bathroom door knob with another new Schlage door lever. 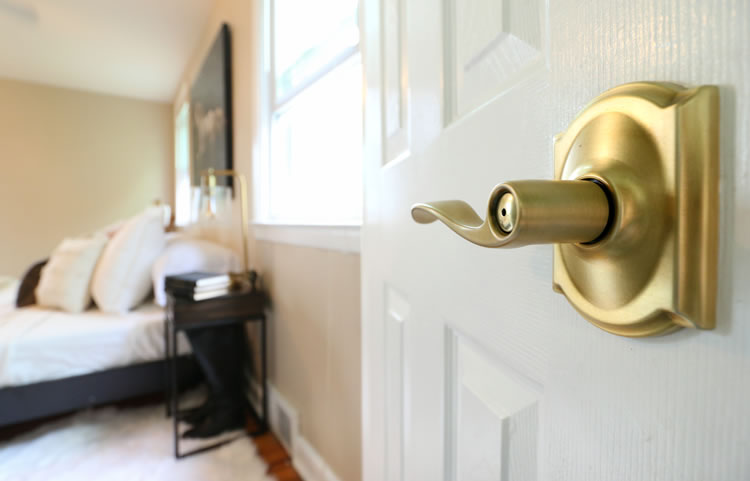
When ordering door knobs and handles be sure to check if the door is a left-handed door or right-handed door. This is especially important for bedrooms and bathrooms because you want the lock to be on the correct side of the door. And if installing a lever (what we have pictured) you want it to be facing the right way once in. Installing new door hardware is easy too. For a complete tutorial, see our Guest Room Refresh.
All in all, I love how this master bedroom makeover turned out. Originally I left the windows bare but decided to hang some drapes I had on hand to finish the look. You really don’t need to spend a fortune to make your home beautiful and it’s always nice to repurpose what you already have.
For an easy DIY project that will transform the look and feel of the space in your home, consider changing out hardware on your doors. And if you need some advice on what style of door hardware you should go with, check out Schlage’s Style Selector. It’s super fun and they have some gorgeous styles in a variety of colors and trims.
To explore more ways Schlage can transform the way you open the doors in your home, visit www.schlage.com
You can also visit Schlage on their social media accounts at:
Facebook (@SchlageLocks): www.facebook.com/SchlageLocks
Instagram (@SchlageLocks): www.instagram.com/schlagelocks
Twitter (@Schlage_Locks): www.twitter.com/Schlage_Locks
Pinterest (@SchlageLocks): www.pinterest.com/schlagelocks
*This is a sponsored conversation written by me on behalf of SCHLAGE. The opinions and text are all mine.
? Is your bedroom ready for a refresh? Let us know in the comments what you picture when you think of the bedroom of your dreams.
Better Living uses affiliate links. If you make a purchase through them, we may receive a small commission (for which we are deeply grateful) at no cost to you.

