
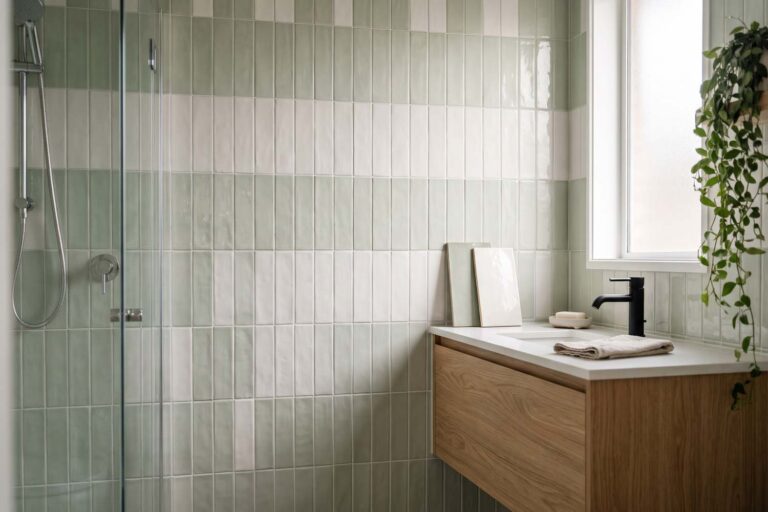
Before you fall for those showroom samples, check the wall you’re tiling. Even after you’ve finished tiling, shower splashes and steam will keep hitting that bathroom wall. Your favorite finish may also demand more scrubbing than you’d like, especially where residue collects along grout joints. In Houzz’s 2025 renovation survey, the share of homeowners buying wall tile or backsplashes fell four percentage points from the prior year to 29% in 2024.
Choose for the room before choosing a pattern
Use conditions as the first filter
What will get on the wall you’re tiling? Before choosing sizes or colors, note how often water hits the wall and what you’ll have to wipe off. A shower needs a wet-area assembly; a kitchen backsplash needs manageable cleanup. A living-room accent wall usually raises different questions about weight and visible cuts.
The same tile won’t work in every room. Separate direct water contact from occasional splashes: a wall behind a vanity isn’t exposed like the inside of a shower. Include the mess you’ll be cleaning on your list. You’ll wipe off toothpaste around the sink and cooking grease behind the range. A textured living-room wall adds dust to the mess you’ve got to clean.
A room-by-room comparison
| Application | Moisture exposure | Cleaning priority | Visual scale | Installation focus |
|---|---|---|---|---|
| Bathroom wet zone | Direct and repeated | Soap residue and mineral deposits | Joint layout around fixtures | Approved substrate and waterproofing system |
| Kitchen backsplash | Intermittent splashes | Grease and cooking residue | Relationship to counters and cabinets | Outlets, corners, and edge details |
| Decorative accent wall | Usually low | Dust and occasional marks | Viewing distance and pattern repeat | Flatness, weight, and visible cuts |
As you review interior wall tiles, keep your room notes nearby and reject anything that clashes with the intended location or the manufacturer’s installation instructions.
The right choice fits the room you actually use, rather than the showroom you visited.
How to choose wall tile for bathroom walls
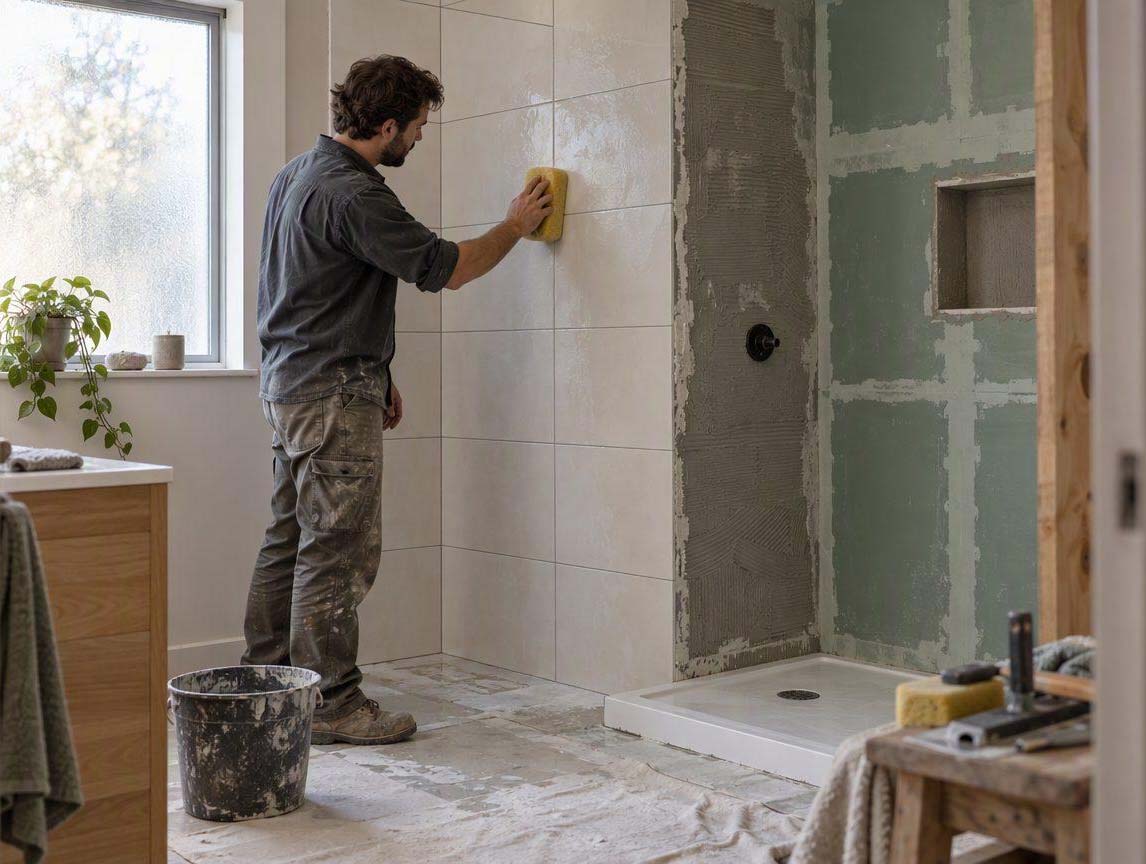
Should every bathroom wall be tiled?
In a bathroom, some walls can stay untiled. With proper ventilation, painted drywall can cover dry areas; keep tile where water hits repeatedly. Decorative tile alone won’t do the job of the waterproofing assembly a shower or tub surround requires. Houzz’s 2025 survey found that 24% of renovating homeowners remodeled a guest bathroom in 2024, equal to the share remodeling a kitchen.
Which tile materials suit wet bathroom walls?
Ceramic and porcelain are common choices when the product is approved for the intended wall application. Porcelain tile absorbs less water. Some ceramic wall tiles are easier to cut, depending on their density. Even a tile with manageable weight and an easy-to-maintain finish still needs the manufacturer’s bathroom-wall approval before you choose it. Get the product’s wall-use instructions instead of treating a bathroom photo as proof of shower-enclosure approval.
How should finish affect the decision?
Glossy surfaces often wipe clean easily but show water spots. Texture adds depth, though residue can collect in recesses. Don’t judge whether tile suits a vertical wall by its floor slip rating.
What bathroom tile sizes are typical?
There’s no single standard bathroom tile size. Alongside squares and larger rectangles, you’ll find small sheet-mounted pieces and subway formats. When planning the joints, work from documented actual dimensions, not the tile’s nominal measurements. A 12-by-24-inch tile isn’t automatically outdated. The tile’s appearance depends on its layout and grout contrast in relation to the wall’s proportions and surrounding materials. Larger formats can mean fewer joints but require flatter substrates and careful cut planning.
What can replace tile outside wet zones?
Outside wet zones, swap tile for moisture-appropriate paint or wall panels only if the manufacturers allow them there. Shower enclosures aren’t dry bathroom walls; use a complete system rated for direct water exposure.
Kitchen backsplashes face a different mess
Prioritize wipeability and joint placement
Expect grease and food splatter on kitchen backsplashes more often than prolonged soaking. Read the manufacturer’s guidance on whether your usual cleaners suit the wall-approved surface before trying them on a sample. You’ll spend longer scrubbing highly textured pieces or tightly spaced grout joints, especially when they’re behind the range.
Plan around the features already on the wall
Outlets and switches break up the pattern you’re laying out. Windows and range hoods define the visible boundaries of your layout. Dry-plan the pattern against cabinet edges so a narrow sliver doesn’t land in the corner you see most often. And mark outlet locations on your layout before settling on a repeat. A pattern may look balanced on paper, yet leave a tiny cut next to a switch plate.
Before setting the field tile (the main tiled area), ask your installer to resolve the exposed edges and trim. Any change in the wall plane requires its own joint details. Resolve those details before the adhesive sets rather than leaving them for an improvised finish. Place several pieces beside the counter, then inspect the grout line where the tile meets the countertop.
Resolve those details before the adhesive sets rather than leaving them for an improvised finish.
Wall tile ideas for accent walls need distance
Judge pattern at room scale
You can’t judge a whole wall by holding one sample inches from your face. Large patterns need uninterrupted space. With small sheet-mounted tiles, extra joints make the texture look busier. After taping the proposed boundary onto the wall, view your samples from the doorway or your usual seat. As you look, keep them upright because overhead lighting may throw shadows across raised details.
Pieces with relief or irregular edges can be harder to line up. Heavy pieces also need suitable support, and wraparound corners introduce cuts you’ll see at eye level. If you’re considering a raised surface on an uneven wall, have your installer confirm the substrate’s condition and weight requirements before you commit.
How to measure wall tiles needed before ordering
Calculate area, then account for cuts
To find square footage, multiply the width by the height (in feet) for each rectangular wall section, then add the resulting areas. For example, a rectangular wall measuring 8 feet wide and 4 feet high has 32 square feet before adjustments for openings or extra pieces. Only subtract openings when they’re large enough to meaningfully affect your order. Extra tile covers cuts and breakage, while spare pieces remain available for later repairs. The pattern and format affect how much extra you need, as do the room’s geometry and the supplier’s guidance.

Use the 3-4-5 rule to check that your layout is square, not to count tile. Mark three equal units along one layout line and four along the adjoining line. If the diagonal measures five of those units, the angle is square. Larger multiples work with the same ratio.
Order samples before committing
U.S. ceramic tile consumption reached 2.70 billion square feet in 2024, according to the Tile Council of North America, with imports representing 71.5% of that volume. While those figures reveal the category’s scale and sourcing range, they say nothing about how a particular tile performs. Compare samples under daylight and evening lighting. After checking actual dimensions and thickness, inspect the edge treatment and shade variation. Before committing to the product, confirm its intended use and cleaning instructions in the manufacturer’s documentation.
Know when the installer should be involved
Get your installer’s input before ordering shower waterproofing materials or unusually heavy pieces. Large-format tiles and difficult penetrations also merit discussion, as do pronounced wall unevenness or complex pattern alignment.
- Confirm wall measurements and calculated coverage.
- Verify approval for the intended location.
- Check the substrate’s condition with your installer.
- Read the product’s installation instructions.
- Confirm that the lot information matches before ordering.
Wall tile maintenance and cleaning by finish
Follow the instructions for the full assembly
Follow cleaning instructions for the full assembly, including grout and sealant. The tile beneath a decorative surface treatment may have different restrictions. Begin with the manufacturer’s approved method and test unfamiliar products in an inconspicuous area. Because acidic or abrasive cleaners aren’t safe for every surface, verify compatibility with each exposed material. If the grout directions differ from the tile’s label, check that product separately.
Keep replacement pieces
Keep leftover pieces in a dry location, labeled with the details needed to identify them. The box should record the product name and color designation, plus size and lot information. Add the purchase date as well. Store those details with the spare tiles because a plumber or electrician may later need to open the wall.
A better wall starts with the right questions
Before choosing its appearance, match the tile to the wall’s exposure and how you clean it. Give layout and scale the same attention as installation conditions, especially where water reaches the surface. After checking the manufacturer’s instructions and resolving the visible edges, you’ll have a useful shortlist to show your installer. The right choice fits the room you actually use, rather than the showroom you visited.
Sources
- Houzz. 10 Big-Picture Home Remodeling Trends to Consider in 2025. April 29, 2025.
- Tile Council of North America. 2024 U.S. Ceramic Tile Market Update. April 30, 2025.

Better Living may earn commissions through affiliate links and may occasionally feature sponsored or partner content. If you make a purchase through our links, we may receive a small commission at no cost to you.